Basics with Book Creator

The best digital tools are the ones that encourage students to create, collaborate and showcase their learning in a new way. We want to encourage students to think about which tool is best for what task; merging digital literacy skills (safe, efficient and effective use of digital tools) with critical thinking, problem-solving and understanding what is the appropriate tool to complete the activity well.
Book Creator is a fantastic resource for young students to showcase their learning. It is a very easy tool to learn (both for staff and students). Teachers we have been working with have been utilising this tool with their classes from year 1 up. Once the students learn how to use the tool, they can contextualise it with any current piece of learning.
Watch the instructional video clips to see the very basics of Book Creator. Written instructions follow below each clip.
Watch these instructional video clips to see the very basics of Book Creator.
Adding text to Book Creator
- Open the book creator app. You can use a free version (only enables you to use 1 book, and the tutorial book which you can delete pages from). There is also a paid version for $8.99.
- Click new book and choose the layout you would like.
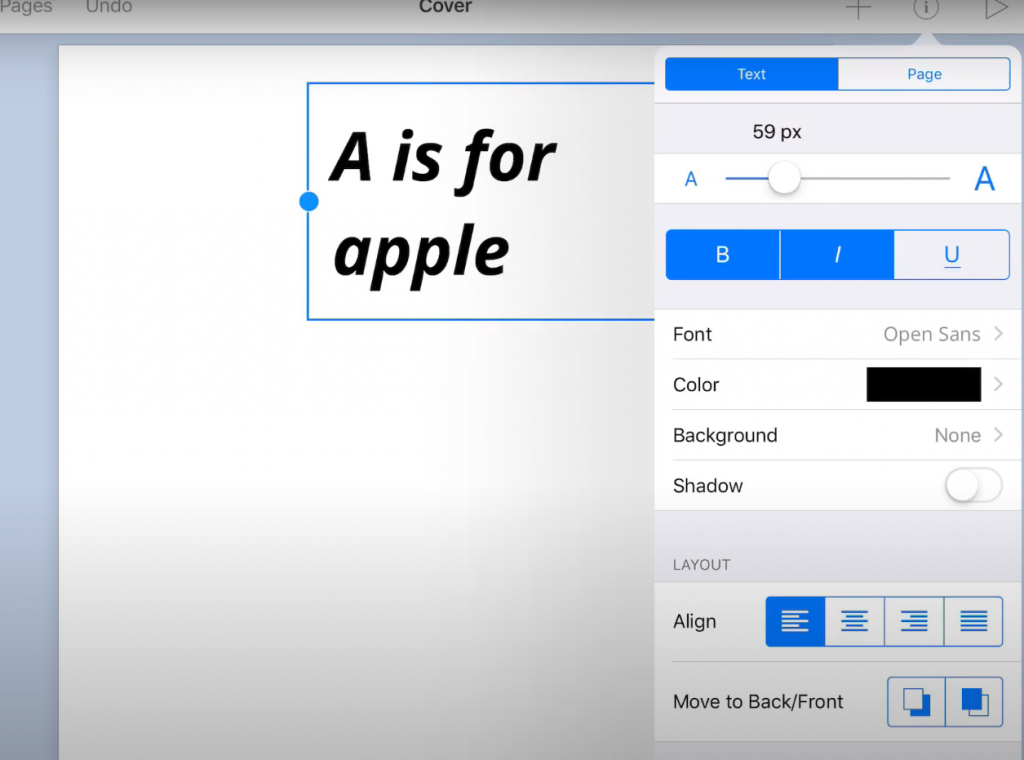
- Click the + button (top right) to add text.
- When the text box is highlighted, click the information button (i) in the top right corner to change the font, font size, colour, etc and place the text where you want it to be. The green line indicates the centre of the page (horizontally and vertically).

Adding images to Book Creator
- Click the + button. You can either use the camera to take a photo, or click photos → moments to use an image you have saved from online.
- Resize your image and move it with your finger to where you want it to be.
- Click the i button when the image is highlighted to move it to the back or the front of other images/text. This is useful when you are layering several things.
Changing the background in Book Creator
- Click the i button when nothing on your page is highlighted.
- Change the colour of the page. There are several other options to choose from when you scroll down (comics, borders etc).
Examples of use - Years 1 & 2
Students work in small groups adding letters, numbers, small words (whatever you are focusing on in class) to each page. The students add a photo representing their example, and add audio to the image – this audio is the students speaking the example.
- This is a great way to guide your students on how to take a clear photo and discuss basic layout features.
(add an example of this)
Examples of use - Years 3 & 4
Students work independently creating books about the kererū. They add online images, audio (which is ‘invisible’), and text. Their books are shared as a video file online to whānau.
- This is a great way to discuss copyright/photo accessibility when using photos from online.
- Layout features are important and discussing with the students about having a quiet space to record audio.
Create interactive books with Book Creator
Digital media and interactive books are becoming more common in contemporary education and play an increasingly important role in the development of children’s literacy skills (Thompson, Hall, Hogan & Papastamatiou, 2018). Whether we support it or not, students are reading more on a device than ever before. This is why it is so important that students are creating with digital tools alongside building their own literacy capabilities.
The students we work with love adding audio and making aspects of their work interactive. It showcases their learning in a fun way (and they think it’s very funny listening to themselves)!
Talk to us about how PLD can make a real difference to your
community through refining your local curriculum design

Facebook Comments